Mapwarper.net has been updated with several months of the latest code. Some of these features are directed towards the rectify map interface with the addition of keyboard shortcuts and the new search and add custom layer tool. If you want to support mapwarper.net donate to paypal.me/timdevelops!
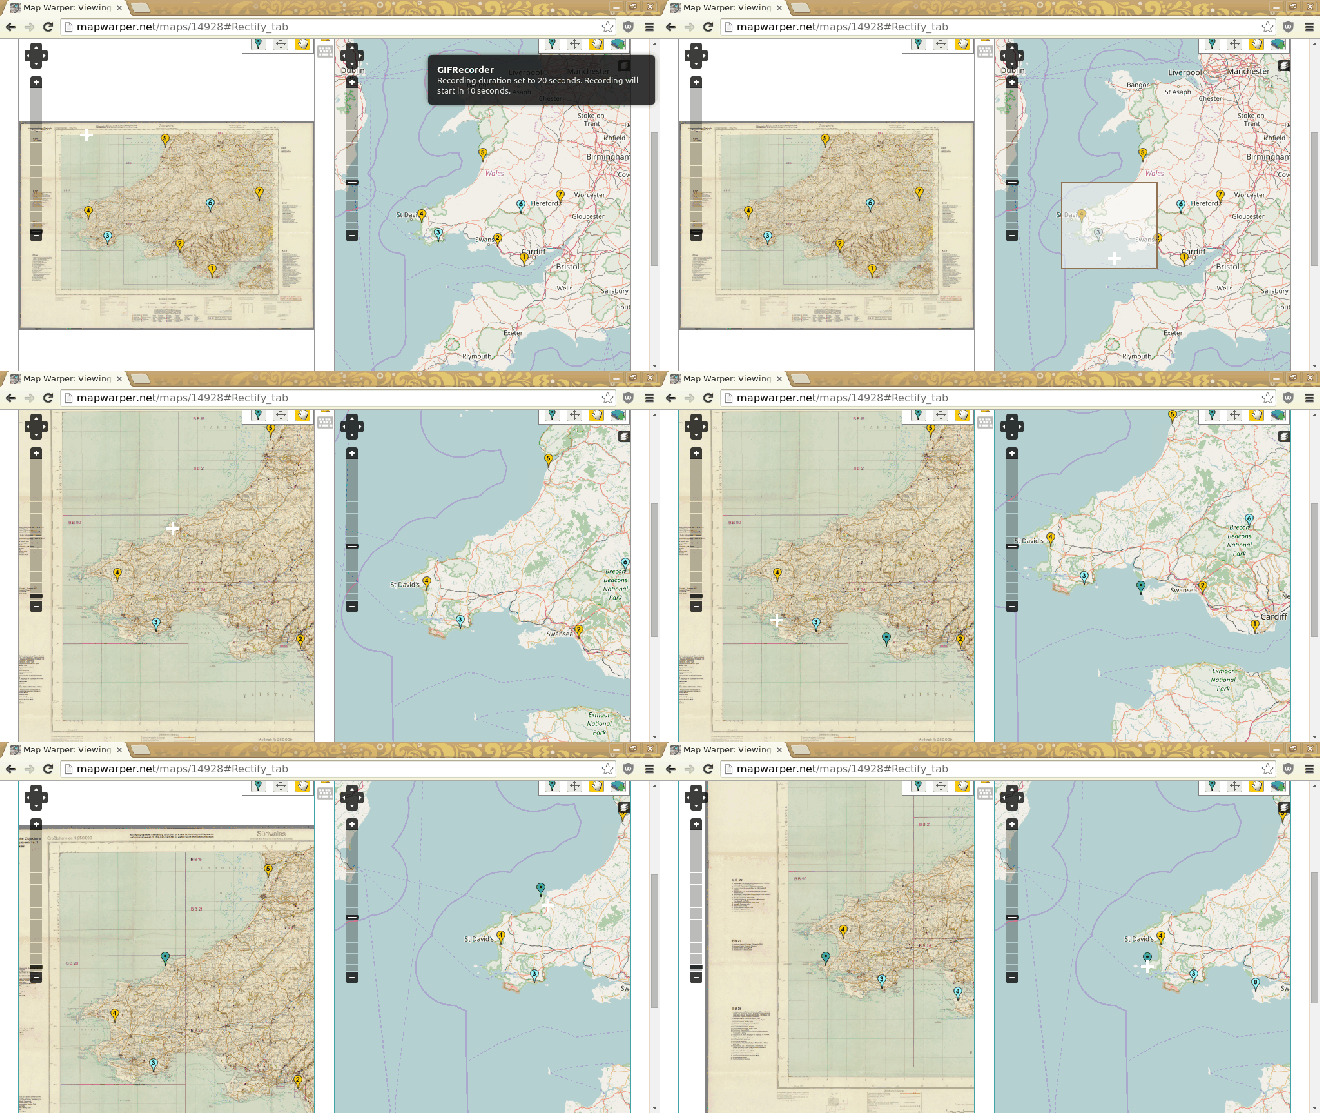
Search for existing map and mosaics and add to the map
Search for warped maps and mosaics (previously called layers) to add to the reference map.
Add Z/X/Y tiles to reference layer
Instead of searching for maps, paste in a map template string into the box. In the animation below, we get a template from another warper and add that in. You can use any tiles so long as they are in the ZXY ordered scheme e.g. https://example.com/osm/{z}/{x}/{y}.png
Keyboard shorcuts: Change Mode & Place Point
Use 1, 2 and 3 on your keyboard to change mode from place point, add point and move map modes.
Press “q” to place a point at the mouse cursor – regardless of the map mode. This enables you to quickly move around and add points
Quick Place and Quick Save
In this animation, the user has the move map control mode activated, and they move the mouse of the maps, and click “q” to quickly place point at mouse location. They then hit “e” or “return” to save that point – that saves you clicking the “add control point” button!
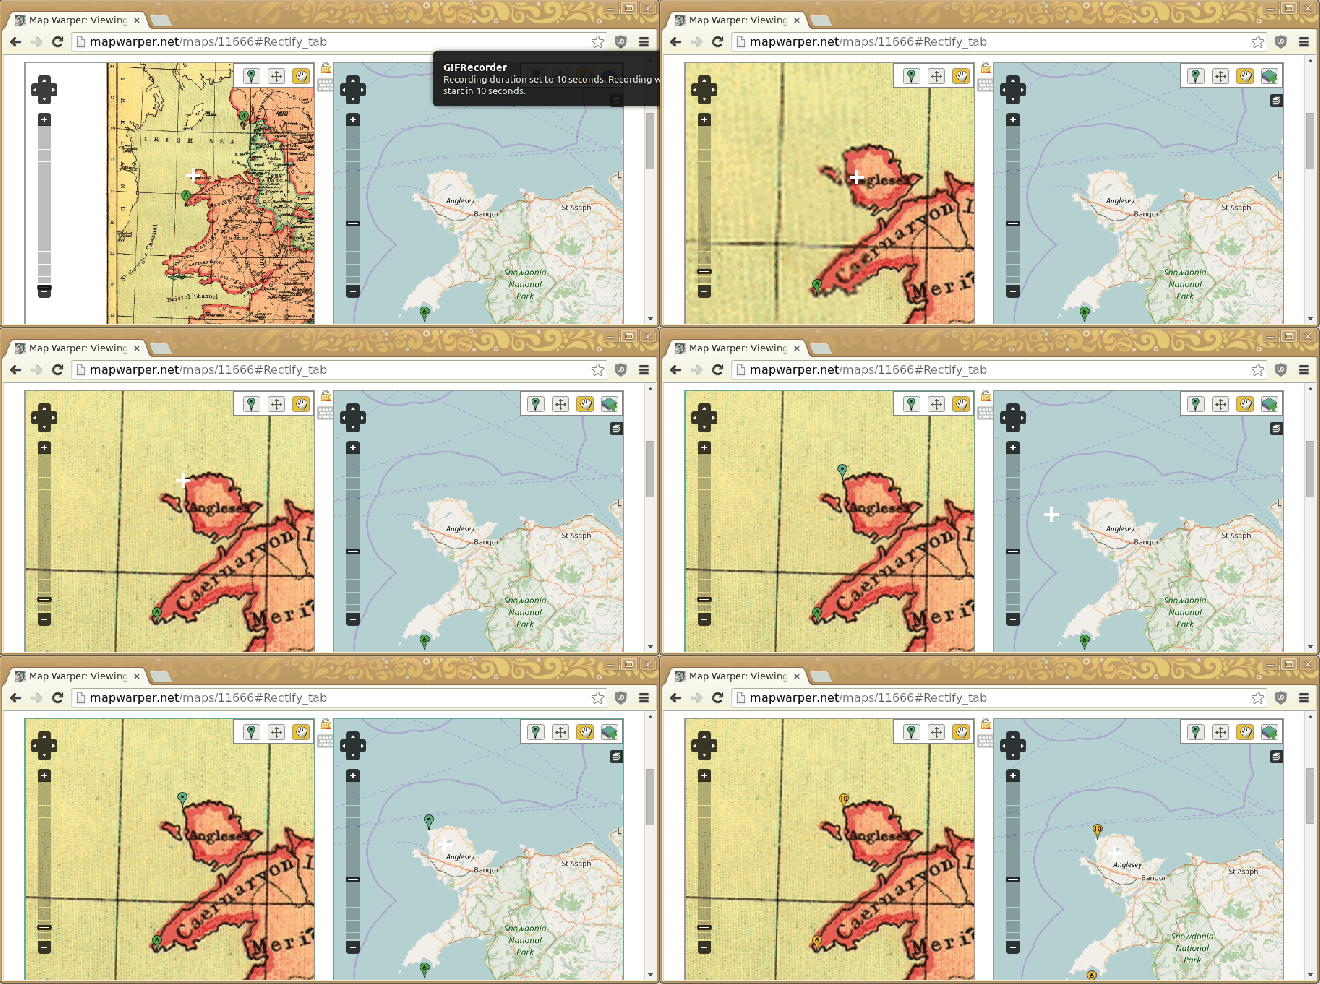
Auto Place Point – MAGIC!
Here the “a” key is pressed to (similar to the q key) drop a point where the mouse is, but crucially, another point on the other map is added. This works if the point you add is on either map. The other map is zoomed to that new point. You’d need at least 2 points to give this a go.
(It uses a helmert transform to work out, based on the existing points, where to add the other point – so it’s a simple 2D transform and won’t be accurate for very warped maps)


Pingback: Rectify: New shortcuts and add layer features in mapwarper·net – GeoNe.ws